Picture the scene. You’ve invested in a gorgeous large diaphragm condenser mic, an interface with silky preamps, and enough acoustic treatment to make your booth look like a velvet fortress. You deliver a voiceover read with delicate nuance, building up to an authoritative crescendo.
Then you listen back to the recording.
During your quiet whispers, the noise floor surges like an angry sea. When you project with authority, your voice clamps down into a muffled, flat mess.
What on earth is going on?
Congratulations: you have just met Windows’ “helpful” audio assistant. Behind your back, the operating system has decided to play amateur sound engineer, slapping auto-gain, compression, and arbitrary volume tweaks onto your pristine microphone signal.
To make matters worse, you open your recording software only to find an error pop-up: another app has hijacked your audio interface and refused to let anyone else touch it.
This blog looks at how to turn off the Windows audio settings that artificially normalise and tamper with your mic levels, and how to stop greedy applications from hogging exclusive control. We want what goes into the microphone to be exactly what lands on your DAW’s timeline.
Why Windows Thinks It Knows Better Than You
Windows is built primarily for office workers on laptop speakers and call-centre headsets, not voice actors capturing a high-fidelity vocal performance.
By default, Windows applies features known as Audio Enhancements (or Signal Enhancements). In theory, these normalise volumes and suppress background whirrs for corporate conference calls. In practice for voice actors, they destroy your dynamic range, boost room hiss during dramatic pauses, and squash your peaks.
Then there is Exclusive Mode. This feature allows a single greedy software application (like a communications tool or a media player) to seize total ownership of your audio driver. If that software is running, your DAW suddenly cannot record, or you find you cannot hear playback from other sources at the same time.
It’s actually pretty simple to fix once you know which menus Microsoft has tucked them into.
The Universal Secret Shortcut (Windows 10 and Windows 11)
Microsoft loves redesigning their sleek modern Settings app with every update, often hiding the professional controls three sub-menus deep.
Thankfully, the classic, bulletproof Sound Control Panel still exists under the hood in both Windows 10 and Windows 11. Here is the quickest way to get there:
1. Press the Windows Key + R on your keyboard to open the Run dialogue box.
2. Type “mmsys.cpl” and hit Enter.
3. Voila! You are looking at the classic Sound control window that audio engineers have trusted for decades.
Now let’s kill the auto-levelling and exclusive mode once and for all.
How to Turn Off Audio Enhancements and Normalisation
Inside the Classic Control Panel (Works on Windows 10 and 11)
1. In that Sound window, click the Recording tab.
2. Locate your active audio interface or USB microphone, right-click it, and select Properties.
3. Click the Advanced tab (or the Enhancements tab, depending on your audio driver).
4. Look for Signal Enhancements or Enable audio enhancements and untick the box. If your driver shows an “Enhancements” tab, check the box that says Disable all sound effects.
5. Click Apply.
To double check it’s worked, speak softly, then loudly into your mic while monitoring your DAW’s input meter. The meter should mirror your natural vocal dynamics rather than artificially floating up and down.
How to Turn Off Exclusive Mode (Stop Apps Hijacking Your Mic)
While you are inside that same properties window, let’s fix the second headache:
1. On the Advanced tab of your microphone properties, look directly at the section titled Exclusive Mode.
2. Untick “Allow applications to take exclusive control of this device”.
3. (Unticking this will automatically disable the second box, “Give exclusive mode applications priority”).
4. Click Apply, then OK.
To double check it’s worked, open your recording software alongside a secondary audio app (like a browser playing a reference track or a communication client). Both apps should now access audio simultaneously without driver lockouts or playback errors.
How the Menus Differ: Windows 10 vs. Windows 11
If you prefer navigating through the main operating system menus rather than typing shortcuts, here is where each version stashes these settings:
In Windows 10
• Right-click the little speaker icon in your system tray (bottom-right corner) and choose Open Sound settings.
• Under the Input heading, click Device properties, then click Additional device properties on the right side.
• This immediately bounces you right into the classic properties tabs mentioned above.
In Windows 11
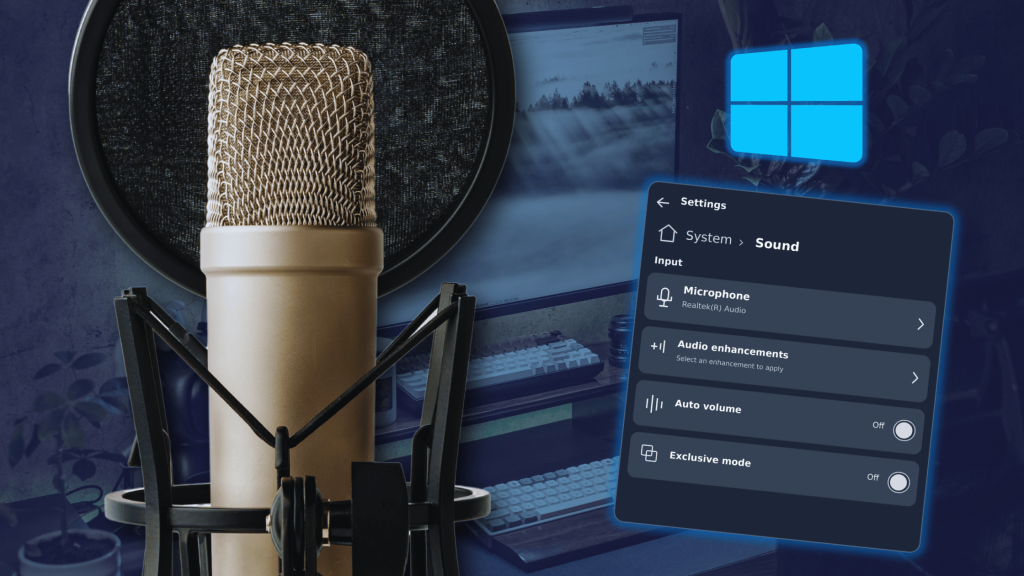
• Microsoft buried the old dialogue deeper in Windows 11. Head to Settings > System > Sound.
• Scroll down to the Input section and click the arrow next to your microphone.
• Under Input settings, scroll down to find Audio enhancements. Change the dropdown from “Device Default Effects” to Off.
• To find Exclusive Mode in Windows 11 via the modern menus, scroll all the way to the bottom of the main Sound page, click *More sound settings, which opens the classic dialogue, and proceed to the Advanced tab.
One Last Trap: Watch Out for Communications Apps
Even after Windows is tamed, apps like Zoom, Microsoft Teams, or Discord love to quietly enable their own internal “Automatically adjust microphone sensitivity” toggles.
Always pop into the audio settings of any chat software running in your background and ensure automatic mic volume, automatic gain control (AGC), and noise suppression are set to Off or Manual.
Give yourself the clean, honest signal path your voice deserves. Your audio editor will thank you!
Hugh Edwards
November 2026